
Now you can make your own wooden lathe by buying a wood-turning table! You can create stunning pieces of art and intricate shapes with this machine. Before buying, make sure you read this article first to understand the basic features that you should look for. You should also take into consideration the following: Rotational speed and Spindle roughing, Respiratory equipment, as well as other features.
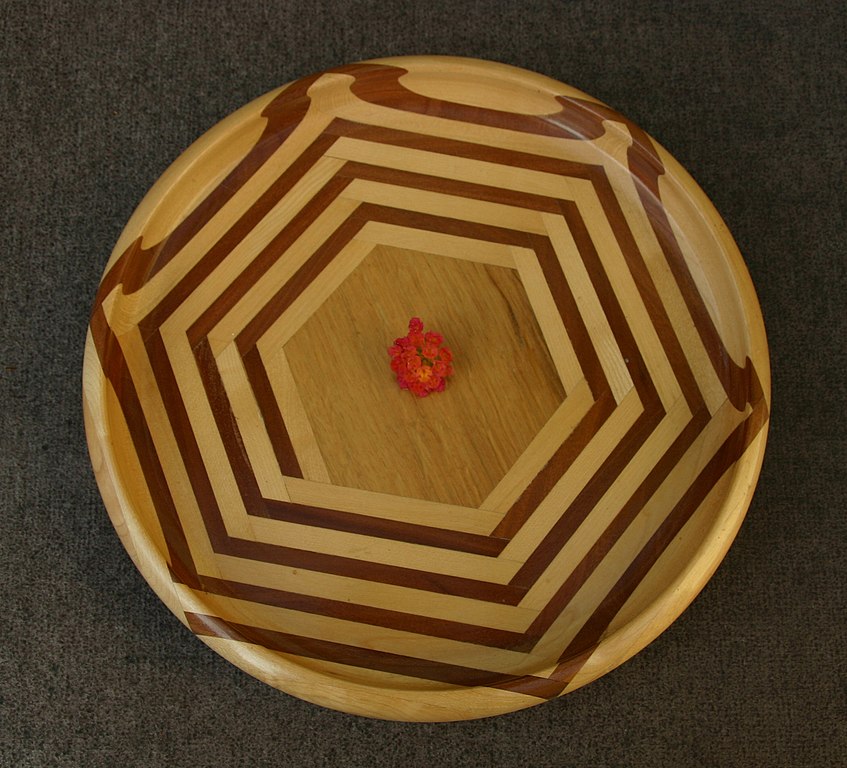
Lathe
It is crucial to find the best wood lathe for you and your budget before buying one. The horsepower of your machine is an important factor because it determines how fast it spins, so you can complete projects faster. The motor also needs to be regulated. Make sure you check the voltage of the power source. To protect your investment, ensure that the table has the correct power source and a valid warranty.
The swing and diameter of the lathe are also important considerations. For example, a 15-inch diameter lathe can turn an item up 15 inches in diameter. However, you'll need 7 1/2 inches between your spur center and the bed surface. The swing range of lathes can be between 10 and 17 inches. The larger the diameter of your items, the higher the swing you should get. You should get a lathe with large swings if you intend to make large-diameter turn after turn.
Rotational speed
Before you can choose the right RPM range to fit your needs, it is important to understand your goals. For example, if you are going to make roughing cuts you should use a lower number than if it is for finer finishing. The same applies to wood that has been damaged. You should use a higher range of RPM if this is the case.
The surface speed concept is used to calculate your wood-turning desk's RPM. It is the speed at wood moves past a cutting edge. The lower limit of the recommended range is 18 miles per hours, while the higher end is approximately 2,500 feet/minute, or more than nine hundred RPM. Safety and balance are two other important considerations. You may choose to reduce the RPM if you are just starting out.
Spindle roughing Gouge
A spindle grinding gouge is a multipurpose tool that can be used to make concave shapes and tapers. The spindle roughing tool can be used to nick the corners of a square blank. The next step involves shaping the profile of your tool. This includes grinding and honing. Once you have finished this, you can add the edge.
There are three sizes available for roughing tools: medium, small, and large. A 3/4-inch roughing gouge is the best size for beginners. It will make it easier to turn spindles from large pieces of splitwood. M2 High Speed Steel will maintain its edge well for many rounds. For larger projects, a bigger gouge is more effective. However, for most spindle turning projects, a smaller gouge is sufficient.
Equipment for the respiratory system
Safety goggles, glasses or a head visor are required for woodturners. A visor that covers your entire head is the best protection. Although it's great to have a tabletop which makes turning easy, it's important that you take care of your health. To protect yourself from harmful particles in the air, you will need to use respiratory protection equipment.
The first step to protecting your lungs from fine wood dust is to wear a good mask. To protect against wood dust, paper dust masks will not suffice. Multi-level dust protection will protect you and your employees from wood dust. There are many choices on the market: full-face respirators or filters. This will protect both you and your workshop against fine wood dust.
Missing the right technique or using the wrong tools

There are numerous mistakes you can make when turning wood, including using the wrong tool or technique. These mistakes can be dangerous and lead to serious injuries or worse, even death. Make sure you are well-informed about woodturning safety to avoid making mistakes. Follow the safety instructions and guidelines provided by your manufacturer. When in doubt, consult an expert. If you have any concerns or questions about woodturning, an expert is the person to call.
While turning wood, pay attention to your swing and to the cutting edge. The bowl gouge's cutting edge only represents a small percentage of the total area. Do not make too many bowl turning passes. This can cause the wood to grab and engage too much of your cutting edge. Instead, try to make gradual, slow passes until you reach your desired shape. A bad technique or the wrong tool could lead to poor results and failure to get the results that you desire.
FAQ
Where do you start when it comes to woodworking?
Learning how to build furniture is the best method. Although you will need to have tools and may make mistakes along your journey, you'll soon be able to master it.
First, choose a project you would like to complete. It can be something as simple and small as a box, or large-scale as an entertainment center. Once you have chosen a project, locate a local woodworker who is skilled in this kind of work. Ask your local woodworker to help you determine the right tools for you and where they are located. You might even ask whether there's someone else you can talk to who does this kind of work.
What types of woods are best for furniture making?
Woods are classified according to their hardness. Softwoods include cedar, pine, cedar, and Cypress. Because they are resistant, they can be used for outdoor furniture. These hardwoods include maple, mahogany and teak. They can't withstand the elements outside so they're best kept indoors.
How long does it take for furniture to be finished?
It depends on the type and complexity of your design as well as the amount of finishing that you use. Hardwoods are more difficult to maintain than softwoods. Hardwoods tend to be more expensive that softwoods. They are more durable and can withstand moisture better. The average time it takes to finish furniture is one week to three weeks.
Where can you find free woodworking blueprints?
Woodworking plans can be found online without the need to purchase books or magazines. Just search Google. Simply type "free woodworking” into the search box and you'll find hundreds of websites that offer free plans.
Statistics
- In 2014, there were just over 237,000 jobs for all woodworkers, with other wood product manufacturing employing 23 percent; wood kitchen cabinets and countertop manufacturing employing 21 percent. (theartcareerproject.com)
- If your lumber isn't as dry as you would like when you purchase it (over 22% in Glen Huey's opinion…probably over 10-15% in my opinion), then it's a good idea to let it acclimate to your workshop for a couple of weeks. (woodandshop.com)
- The best-paid 10 percent make $76,000, while the lowest-paid 10 percent make $34,000. (zippia.com)
- The U.S. Bureau of Labor Statistics (BLS) estimates that the number of jobs for woodworkers will decline by 4% between 2019 and 2029. (indeed.com)
External Links
How To
How to stain wood
Staining wood can be described as a process where chemicals are applied to the wood surface. This causes the wood to take on a new color. This chemical reaction changes the wood's color from white to brownish. While oak is the most widely used type of wood for staining purposes, other types of wood are also available.
There are several ways to apply stains to wood surfaces. Mixing the stain in a solvent such as turpentine and spraying it onto the wood is one method. You can also apply a solution containing water and dye directly to the wooden surface. Stains can also be mixed into paints and varnishes, becoming part of the finish coating.
Preparing the surface is the most important step in staining wooden surfaces. The wood must be thoroughly cleaned to remove all grease and dirt. Sanding smoothens scratches and rough spots. Next, you need to decide which stain you want. Penetrating stains are different from non-penetrating. Penetrating stains penetrate deeper than non-penetrating stains, which makes them great for dark colors like mahogany. Penetrating stains are best paired with lighter colors, such as maple.
After deciding on the type of stain, you want to apply, prepare your tools. You can use a paintbrush to apply stains. This allows you spread the liquid evenly over the surface. A few rags are also handy to clean up any spillages after you have finished painting. If you are planning to mix your stain, ensure you have enough containers for each component.
Once you have prepared all your materials, it is time to clean the areas where you will stain the wood. To remove dirt and dust, use warm water and soap. Wipe the entire piece of furniture with a rag dampened with clean water. Make sure you eliminate any loose debris, especially if you plan to stain darker wood.
Apply the stain next. Start at one end of the piece of furniture and brush or spray the stain onto the wood. You should work slowly and carefully. Continue moving along the grain until you reach your opposite end. Make sure that the stain does not drip off the edge of the wood. Let the stain dry completely before proceeding with the next steps.
A coat of clear polyurethane sealing agent is applied to protect the paint. Three coats are recommended for polyurethane. Allow the third coat to dry overnight, before sanding.