
This article covers the fundamental steps to using epoxy woodworking adhesives. This article will show you how to fill cracks and repair holes. It also shows you how to glossen your finished projects. Here are three popular types of epoxy resins. You can choose the one that suits your needs. Its viscosity level is lower than honey making it ideal to use on wood surfaces. You should be aware of possible bubbles and other problems.
Steps to filling holes
There are two steps involved in filling holes on epoxy-coated woodenworking projects. The first step is to mix the two parts of epoxy together. You should mix the two pieces for at least two minutes. Mix the two parts together for 2 minutes. Add a little bit of smooth sawdust (like Talcum powder) to make sure it is well combined. The result should be thick and easy to sand after it has dried. Use a plastic-coated putty knife to place the mixture into the hole. Once applied, the epoxy should set for the recommended amount of time and allowed to cure before you move on.
Cracks fixed
A quick fix for a woodworking crack is to fill the crack with epoxy. While it's not necessary to use the actual epoxy, it can make the repair job easier. To match the wood color, you can tint the epoxy. This allows you to have an almost invisible crack mark, but it doesn't affect the overall color or sheen of the project. A third option is to buy sawdust. It can be bought at home improvement shops or directly from the wood. Mix the paste with the wood and apply it to the crack.
Adding gloss
An epoxy finish requires that the entire piece be sanded before it can be applied. This will remove any epoxy spills and brush away any sawdust. They should then let the epoxy cure before coating it. Also, they should heat the resin to make it more fluid and easier to mix. This will also help pop any air bubbles. In addition to wearing protective gloves and covering their piece with a tarp, craftspeople should work in a dust-free environment.
Preventing bubbles
Using baby powder on the surface of the resin can prevent the formation of bubbles in the final product. The resin can be applied by dusting the surface with a small amount of baby powder. Before applying the resin, shake off any powder. After casting the resin, it should be left on a rack for 24hrs. It should fully cure after 72 hours. It can be difficult to remove bubbles.
UV light can cause different reactions in resins
There may be differences in the viscosity and color of epoxy resins. All epoxy resins are capable of waterproofing and sealing wood. This coating can be great for many types projects, depending on the type. It is available in many colors, and is suitable for most wood surfaces. Here are the main characteristics and uses of epoxy resin.
Safety concerns
When working with epoxy, safety precautions are critical. Safety precautions include using gloves to work with epoxy. However, these are not the only safety measures. It is hard to get the resin off your skin because it can be so sticky. Wear safety goggles. Wear safety glasses if you get epoxy on the skin. You might have to change clothes. Safety goggles for woodworkers are essential.
FAQ
Do I have to refinish my furniture?
Yes! There are many different ways to refinish older furniture without the need for professional help. Here are a few suggestions:
To remove stains and scratches, use sandpaper. Next, wipe the surface clean with a damp cloth.
Use clear polyurethane varnish. Allow furniture to dry completely before you move it around.
Paint furniture with acrylic paint.
Instead of painting, use stain. The stain will give the furniture a rich look.
Use shellac wax. The wax will add shine to the wood and protect it.
What material would you recommend to start learning woodworking?
Start with softwood like pine, poplar and ash. These two are the easiest to master, then you can transition to hardwood.
How long does it take to finish a piece of furniture?
It depends on the size and condition of the furniture. Smaller projects like boxes and picture frames can be finished within one day. Larger projects, such as desks and dining tables, can take several days. It takes time to stain and seal the wood properly.
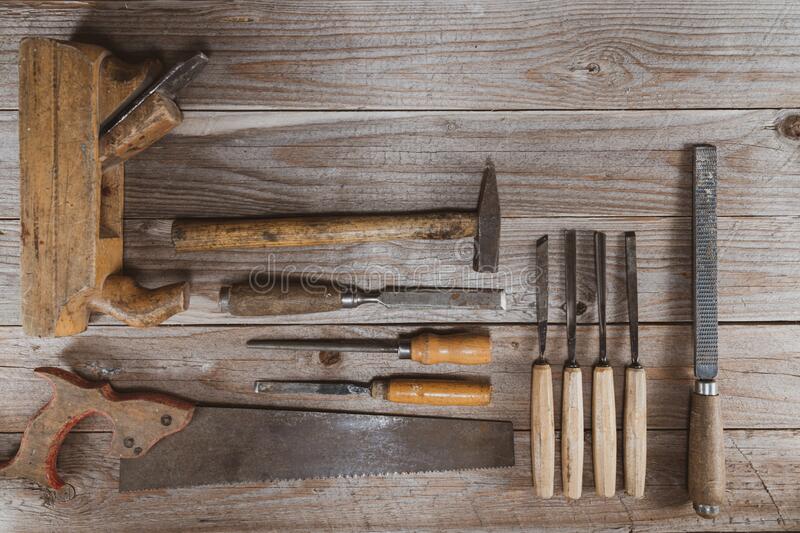
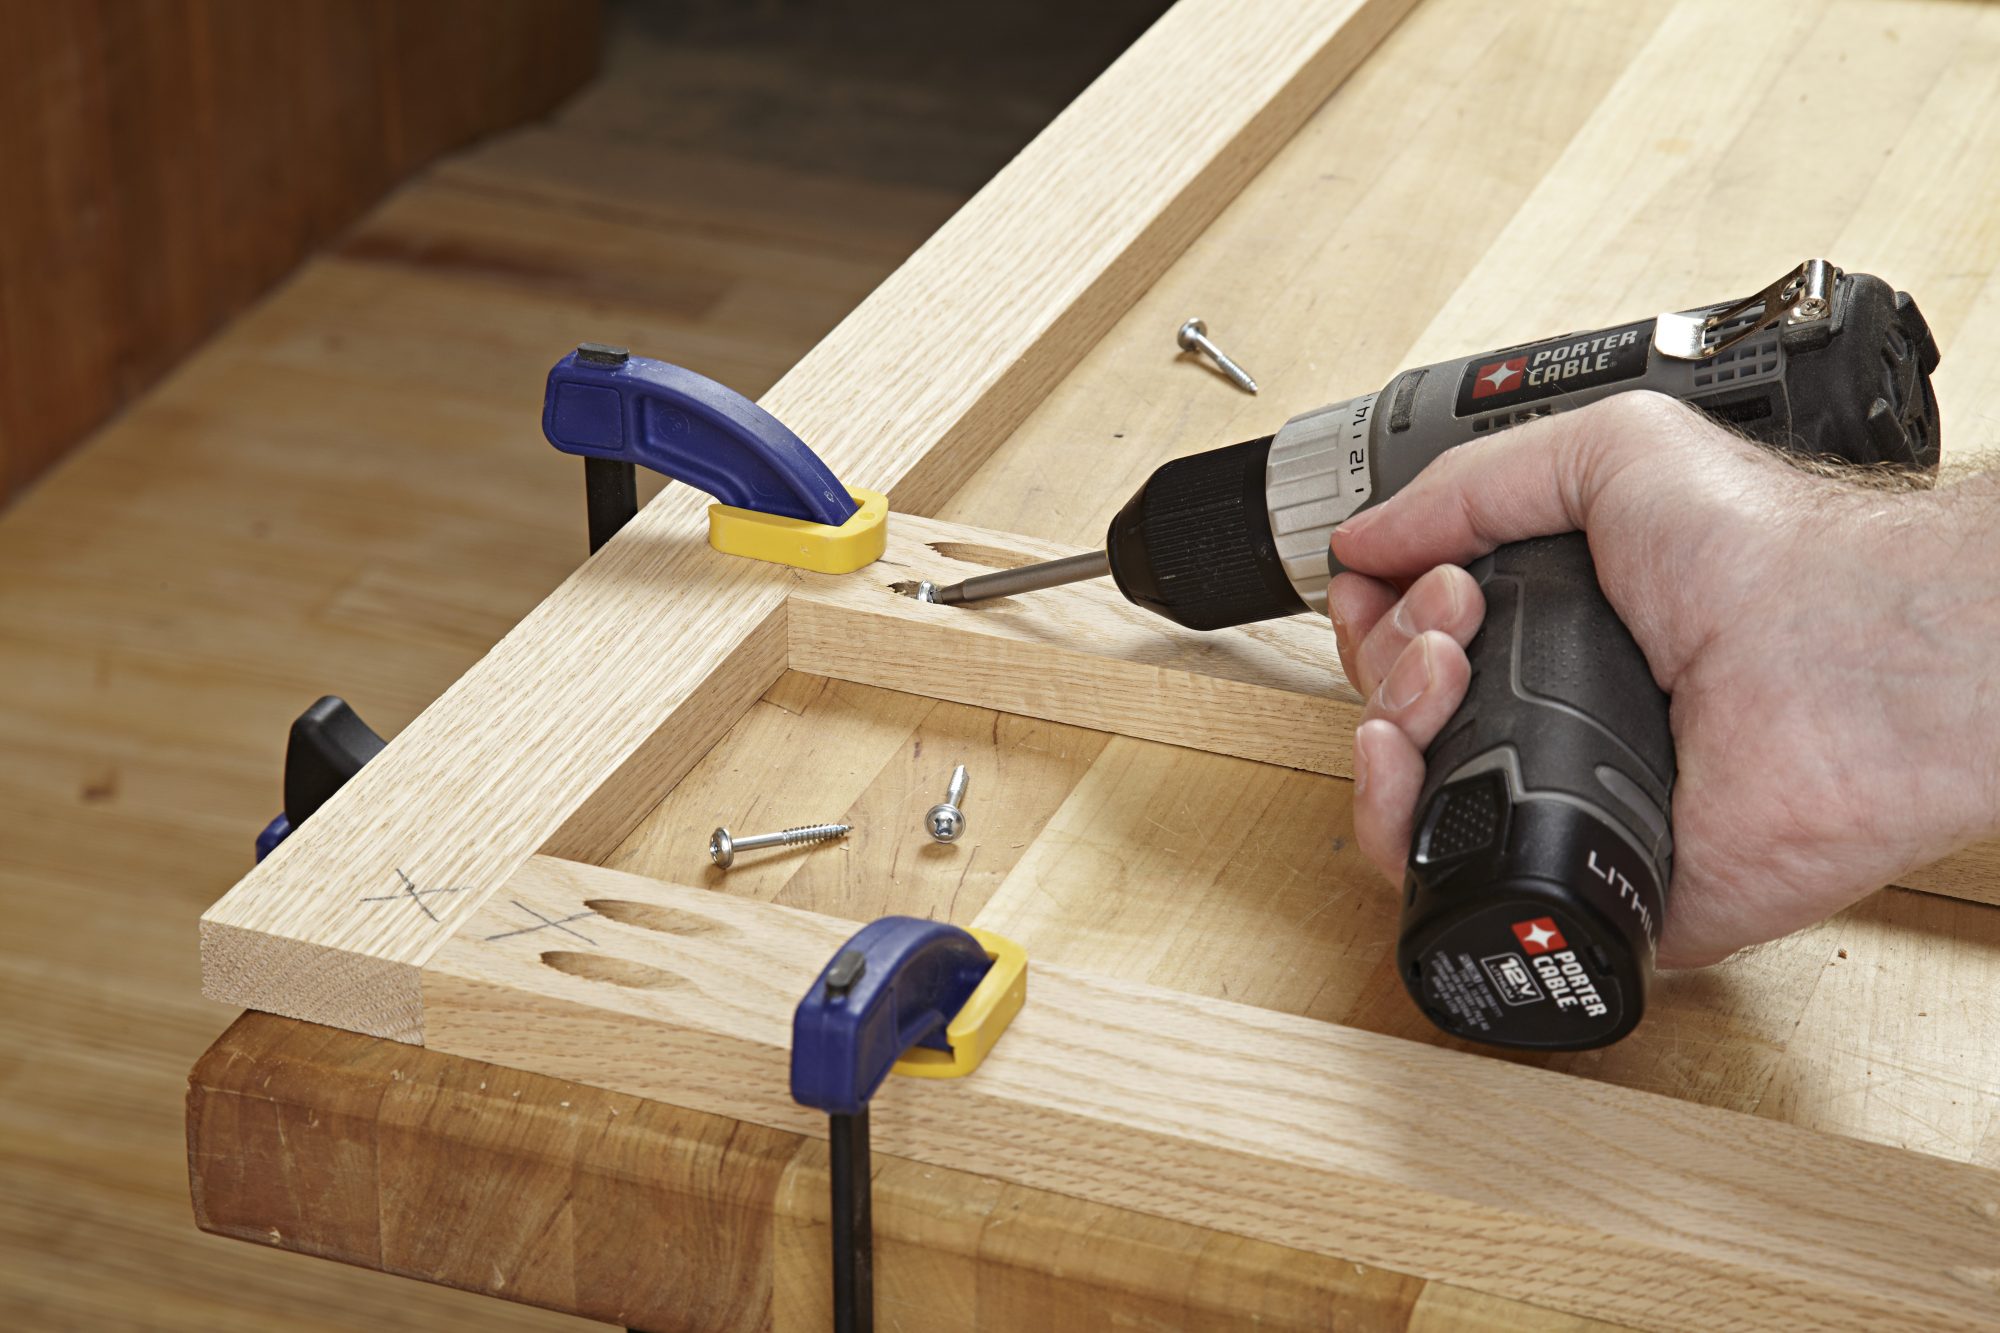
How can I determine which tools are most suitable for me?
It is important to consider your needs and preferences when shopping for tools. Do you prefer metal or plastic handles What size screws or nails do you prefer? Do you prefer hand tools over power tools?
Statistics
- The U.S. Bureau of Labor Statistics (BLS) estimates that the number of jobs for woodworkers will decline by 4% between 2019 and 2029. (indeed.com)
- If your lumber isn't as dry as you would like when you purchase it (over 22% in Glen Huey's opinion…probably over 10-15% in my opinion), then it's a good idea to let it acclimate to your workshop for a couple of weeks. (woodandshop.com)
- Most woodworkers agree that lumber moisture needs to be under 10% for building furniture. (woodandshop.com)
- Woodworkers on the lower end of that spectrum, the bottom 10% to be exact, make roughly $24,000 a year, while the top 10% makes $108,000. (zippia.com)
External Links
How To
How to stain wooden surfaces
Staining wood can be described as a process where chemicals are applied to the wood surface. This causes the wood to take on a new color. This chemical reaction changes the wood's color from white to brownish. Although oak is the most popular type of wood to stain, there are many other types that can be used.
There are several ways to apply stains to wood surfaces. One method involves mixing the stain and a solvent and then spraying it on the wood. Other methods use a solution of water and dye applied directly to the wood. You can also mix stains with varnishes or paints so that they become part the finish coating.
The first step in staining wood is preparing the surface. Clean the wood to get rid of any grease, dirt or other substances that might be detrimental to the stain's application. Sanding can smoothen out scratches and uneven spots. Next, you need to decide which stain you want. There are two basic kinds of stains: penetrating stains and non-penetrating stains. Penetrating stains penetrate deeper into the wood than non-penetrating ones, making them ideal for dark colors such as mahogany. Light colors such as maple work well with non-penetrating stain.
After choosing the type and application method you prefer, gather your tools. Paintbrushes are great for applying stain because they allow you to evenly spread the liquid across the surface. You should also have some handy rags to wipe up excess stains after you finish painting. If you are planning to mix your stain, ensure you have enough containers for each component.
After you have prepared your materials, clean the area you intend to stain. Use warm water and soap to clean away dirt and dust. Use a dampened sponge and warm water to clean the entire piece. Make sure you eliminate any loose debris, especially if you plan to stain darker wood.
Next, apply the stain. Begin at one end and spray or brush the stain on the wood. You should work slowly and carefully. Continue moving along the grain until you reach your opposite end. Make sure that the stain does not drip off the edge of the wood. Allow the stain to dry completely before you move on to the next step.
Clear polyurethane is used to protect the painted surfaces. Apply three coats polyurethane sealer. Allow the third coat, which should dry overnight, to dry before sanding.