There are many turning tools that can be used in your workshop. Some of these tools include the Faceplate gouge, Spindle roughing gouge, and Bowl gouge. Some tools are designed to be used on specific types of wood like walnut, oak or other soft woods. Here are some tips on how to choose the right tools. Here are the most commonly used types of turning tool. Consider all options and decide on the best option for you.
Turning a faceplate
Faceplates are a common tool in woodworking. These faceplates can be either simple moulds or complex designs that are carved into wood. These are just a few examples of faceplate design. The trophy base is straight while the rosette uses deeper beads with coves. Both require attention to detail. If you're looking to learn more about the basics of faceplate turning, read on!
The angle at the which a tool presents itself on the work will impact the cut. The shear angle will affect how clean the cut is. Although a square saw can be used to cut the wood, a 45deg angle produces a cleaner finish. Using a 45-degree angle makes the cut more shear and produces a smoother finish. Use a saw or a sharpening knife to enhance the look of your cut.
Spindle roughing Gouge
The spindle roughing tool is used to reduce square or rectangular spindle blanks into cylinders. The spindle roughing tool should not be used for turning bowls, unlike the skew-chisel. Its cutting edges dig into the end grain. However, it can also be used in cross-grain applications, such turning bottle stoppers.
You should not cut across the grain with a spindle-roughing gouge. This tool's geometry is 45 degrees. Therefore, it is not recommended to cut across grain. Also, the tool size and flute shape can cause trouble. This tool should only be used by those who have experience in woodworking. These tips will help you no matter whether you are a novice or a veteran woodworker.

First, make sure to use the correct angle. Use the spindle roughing tool to guide you. To clean up any dust, use your index finger. Next, make sure the cutting edge comes in contact with the wood. The cutting edge will leave behind shavings, which are a sign of the proper position. After the wood has been cut you can move on to step 2.
Bowl gouge
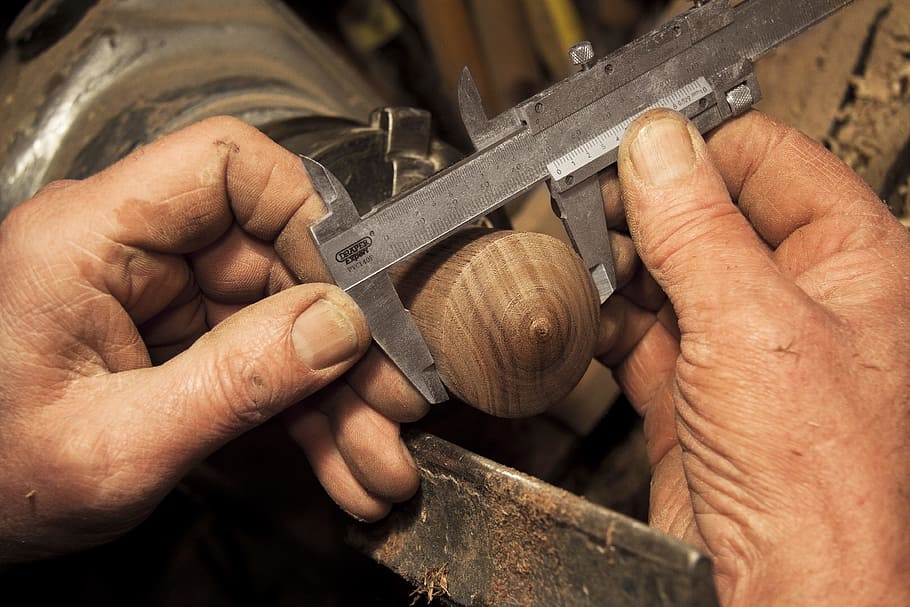
A bowl gouge, a high-quality tool for turning material inside a bowl, is an excellent choice. This tool is made out of high-speed stainless steel and has a brass ferrule. You will need to adjust the tool rest height to suit the bowl shape. Move the gouge handle forward or backward until you reach the desired depth and width.
There are many sizes and shapes of a bowl gouge. A bowl gouge of approximately 1/2" diameter is best for beginners. A 3/4" or larger gouge can be used by more experienced wood bowl turners for finishing cuts. A larger gouge with a greater diameter can be used for large bowls, and can also be used as a plow. Different gouge sizes have different grind profiles. A gouge's cutting edge is the curved area surrounding the bevel. A good way to test its sharpness is to rub a finger against it.
Skew chisel

Before you can use a wooden skew chisel properly, it is important to understand the basics. You should first learn how to cut long and shallow taper cuts with it. Use the heel edge of the Skew to adjust how the chisel is presented to the spindle. Ideal for V-cutting and planning, as well forming beads, is a 20-30 degree angle.
You will be able to create V-grooves quickly and cleanly by using a skew saw chisel when turning wood. You will need to place the toolrest high so that the long tip of the tool can be used to mark the centerline. Next, raise your handle to increase the depth of the groove. Next, alternate between the right and left cutting motions until you reach the desired groove depth. Once you've made the cut, roll the skew's bevel away from the cut.
FAQ
How can I organize my shop?
First, make sure you have a designated space for tools storage. Keep your tools away from dust and debris, so they stay sharp and ready to work. Pegboard hooks can be used to hang tools and accessories.
Where can I begin with woodworking
Building furniture is the best way to learn how furniture is made. While you will need tools, mistakes are inevitable, but you will learn the ropes if you persevere.
Start by choosing a project you'd like to complete. You could make something as simple or complex as a box. Or you could build a whole entertainment center. Once you've decided on a project, find a local woodworker who specializes in that kind of work. Ask him or her for advice on what tools you'll need and where to find them. It's possible to ask your friend if they do this type of work.
How can a beginner woodworker make money?
Many people are looking to create their own furniture and start an internet business. You don't have to sell on Etsy if your furniture is just beginning. You could sell at craft fairs or local events. Offering workshops could be another option for those who are interested in learning how to build their furniture. If you have experience as a carpenter or builder, you might consider offering services such as remodeling homes or creating custom pieces for clients.
Which woods are good to use for furniture-making?
Woods are classified according their hardness. Softwoods include pine, fir, cedar, and cypress. Because they are resistant to rot, softwoods are often used as outdoor furniture. The hardwoods are oak, maple and mahogany. Because they can't weather outside, they're usually used indoors.
What kind and type of wood should i use?
The most popular types of wood used in woodworking include oak, pine, birch, maple, cherry, mahogany, teak, poplar, redwood, and bamboo. Each wood variety has distinct characteristics that influence the final product's look and feel. Oak tends to be harder and darker than other woods. Birch is soft and lightweight, while mahogany is denser and heavier. You can also pick between veneers and solid wood. Veneers are thin sheets or wood that are glued together into one layer.
How can I learn basic skills in woodworking?
It is an excellent way to learn how to build furniture. You can make a simple bench yourself. This project can easily be done using whatever wood you have at your house. If you don't know what kind of wood to use, then go ahead and buy some cheap pine boards from Home Depot or Lowes. After you've constructed your bench you'll want sand all the rough edges off and varnish it.
Is it hard to start my own woodworking business?
It can be difficult to start your woodworking business. There are many requirements and regulations that must be followed. But, this doesn't mean you need to go through all of the trouble of setting up your business. Many people opt to join existing businesses instead. This will allow you to avoid paying membership fees and taxes.
Statistics
- Woodworkers on the lower end of that spectrum, the bottom 10% to be exact, make roughly $24,000 a year, while the top 10% makes $108,000. (zippia.com)
- If your lumber isn't as dry as you would like when you purchase it (over 22% in Glen Huey's opinion…probably over 10-15% in my opinion), then it's a good idea to let it acclimate to your workshop for a couple of weeks. (woodandshop.com)
- Overall employment of woodworkers is projected to grow 8 percent from 2020 to 2030, about as fast as the average for all occupations. (bls.gov)
- The U.S. Bureau of Labor Statistics (BLS) estimates that the number of jobs for woodworkers will decline by 4% between 2019 and 2029. (indeed.com)
External Links
How To
How to make wood joints
This tutorial will teach you how to join two pieces wood together. We will use the pocket hole joint, which is drilling holes in the wood to join them. This works well if the wood is straight and smooth. Try dowel joinery instead if your wood doesn't look straight. Here are the steps
-
Drill Pocket Hole Joints. First, measure the area where you wish to place the pocket joint. Next, drill 3/4 inch holes in each end of each piece using a handheld drilling machine or jigsaw.
-
Sand Smooth. The wood's edges can be sanded to prevent splitting.
-
Glue both sides together. Apply glue to both sides of the wood. Allow it to cool for at least 5 minutes before you attach the pieces.
-
Fix the Pieces together. After the glue has dried completely, you can clamp the pieces together until they are flush.
-
Trim Joinery. Trim the excess wood around the joint after the glue has dried completely.
You should leave enough space between the pieces to allow you to turn them inside-out.